Since A Beginners Guide: How To Take The Perfect Flatlay is continuously my most viewed and most popular post I thought I would do an updated one. To read my first post regarding flatlays click here.
My first post was more focused on how to edit the image to get the perfect white backdrop and lighting so today I will touch on props, enhancing the colours in the image and any other tips I think of along the way. These tips can be used for pretty much any sort of flatlay and are perfect for blogposts or your Instagram feed!


 2. Placement
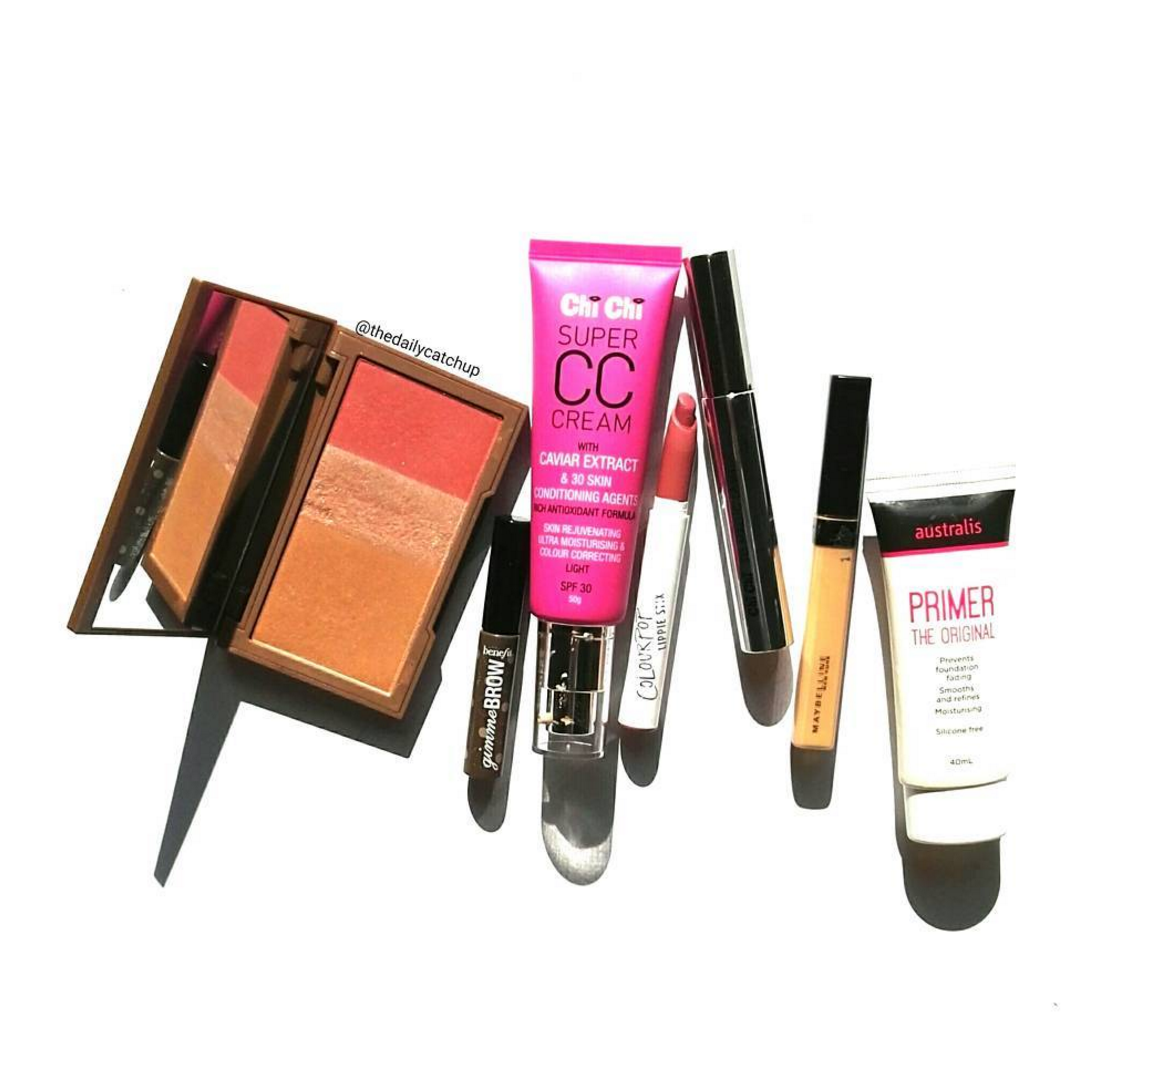
How you place items is also key. Do you want your flaylay to feature one certain product? If so you could do a close up or blur any surrounding products to draw the attention to that specific item. You can have an organised mess or a scattered mess. An organised mess is those flatlays where all items are in line with one another and it looks very neat and clean otherwise a scattered mess is exactly as the name suggests. You can also take your flatlays on an angle, centre the items or have them going diagonally across the image. It is really up to your own preferences and what look you are going for.


3. Props
This is the part where you really get to have fun with your flatlay!
Paint sample cards from your local hardware store, such as Bunnings, is an easy way to add a pop of colour to your images. Alternative props you can use are coloured paper, brushes, phone cases, flowers, plates, lollies, chocolate or chopping boards. Anything really! You can really get creative with your pictures and make them unique.


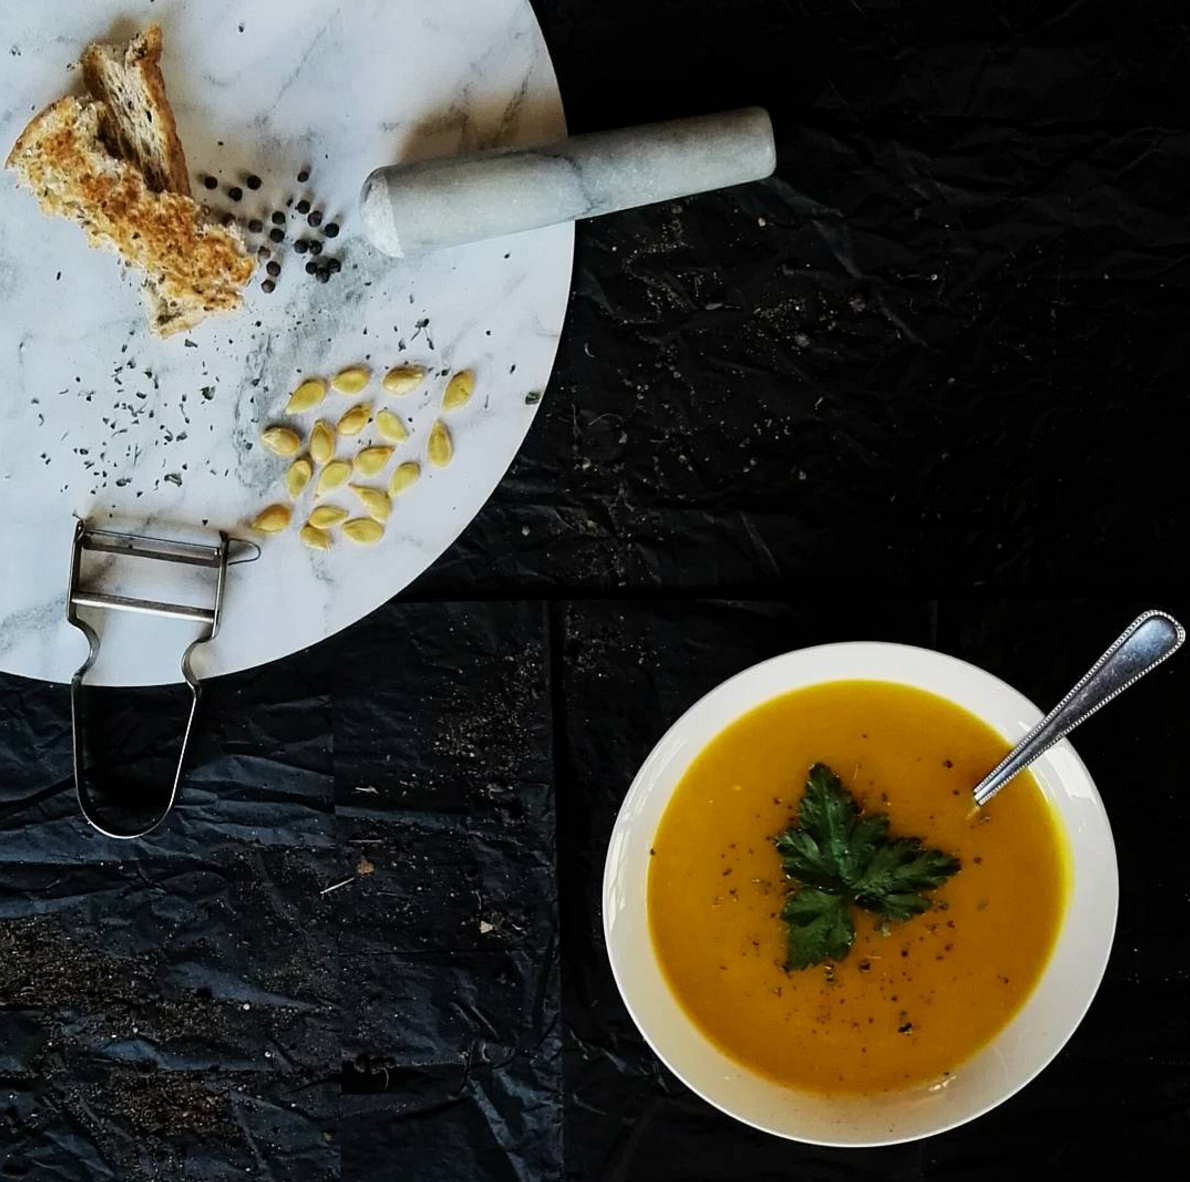
You can also create a contrast with your flatlay, for example contrasting grey or white against a black backdrop and vice versa. I've started playing around with food flatlays lately so I thought I would include those as my examples for this tip.

I hope these tips help you out and are useful to you. If you have any questions please leave a comment below or on my Instagram. Happy flatlaying!
My first post was more focused on how to edit the image to get the perfect white backdrop and lighting so today I will touch on props, enhancing the colours in the image and any other tips I think of along the way. These tips can be used for pretty much any sort of flatlay and are perfect for blogposts or your Instagram feed!
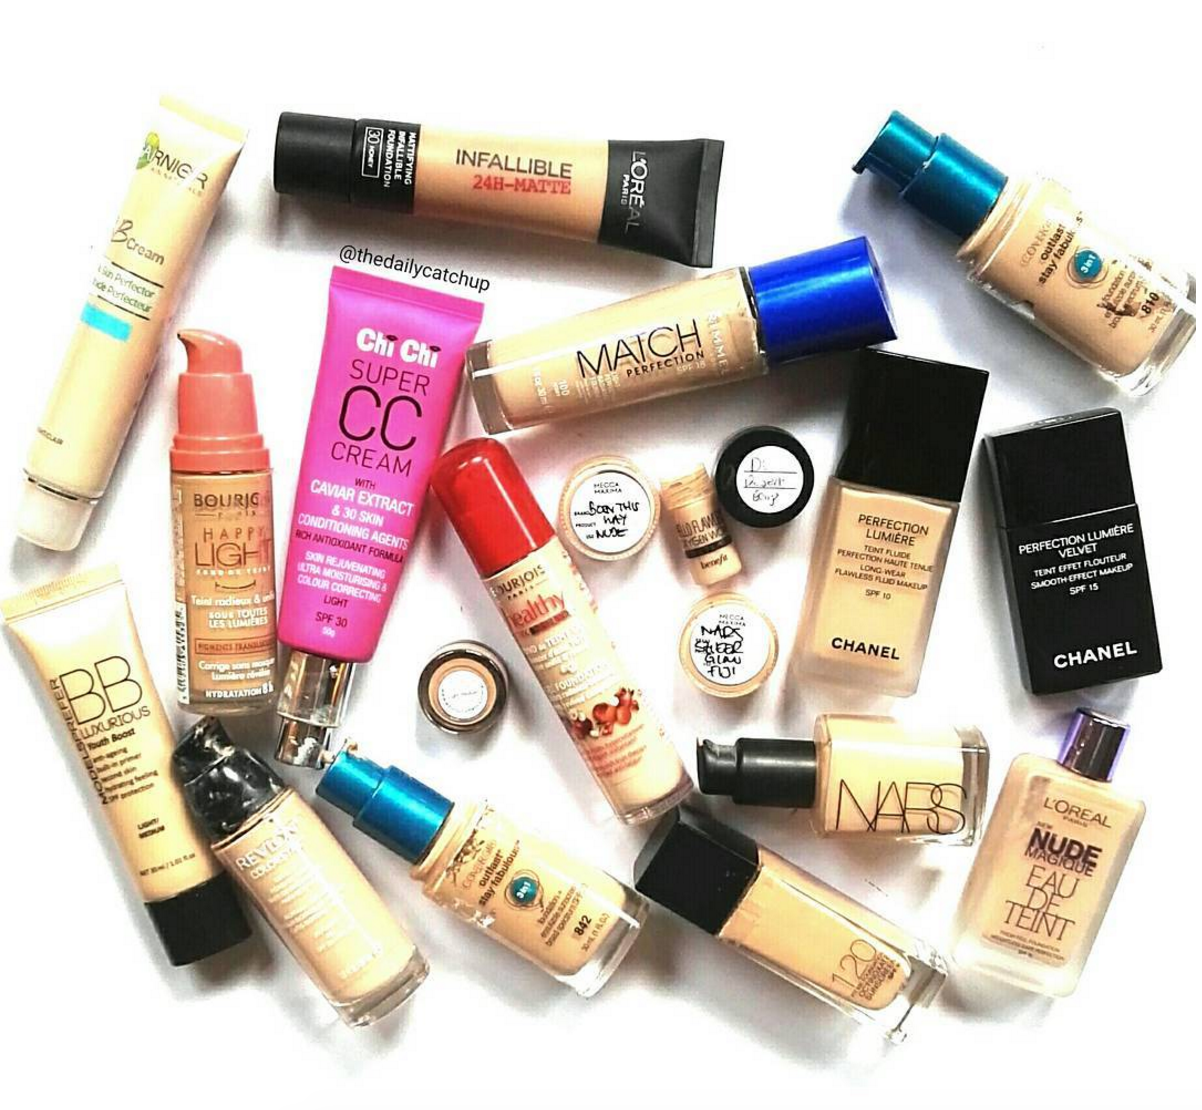
1. Pick a theme
You want your flatlay to be cohesive and have a certain theme to the image. Whether it be a certain brand you want to feature or you wish to play up a certain colour. This tip can make your flatlay look more visually appealing and catch the viewers attention.How you place items is also key. Do you want your flaylay to feature one certain product? If so you could do a close up or blur any surrounding products to draw the attention to that specific item. You can have an organised mess or a scattered mess. An organised mess is those flatlays where all items are in line with one another and it looks very neat and clean otherwise a scattered mess is exactly as the name suggests. You can also take your flatlays on an angle, centre the items or have them going diagonally across the image. It is really up to your own preferences and what look you are going for.
3. Props
This is the part where you really get to have fun with your flatlay!
Paint sample cards from your local hardware store, such as Bunnings, is an easy way to add a pop of colour to your images. Alternative props you can use are coloured paper, brushes, phone cases, flowers, plates, lollies, chocolate or chopping boards. Anything really! You can really get creative with your pictures and make them unique.
4. Enhancing colours and contrast
If your flatlay is looking a little dull play around with the saturation when you are editing your image. This will enhance the colours and make everything look a lot brighter.You can also create a contrast with your flatlay, for example contrasting grey or white against a black backdrop and vice versa. I've started playing around with food flatlays lately so I thought I would include those as my examples for this tip.
I hope these tips help you out and are useful to you. If you have any questions please leave a comment below or on my Instagram. Happy flatlaying!


Be First to Post Comment !
Post a Comment